First Setup: LuCI, Internet and LAN
LuCI is OpenWrt's web interface. This guide takes a freshly installed OpenWrt router from first login to a working network. Screenshots are from OpenWrt 25.12.
1. Log in
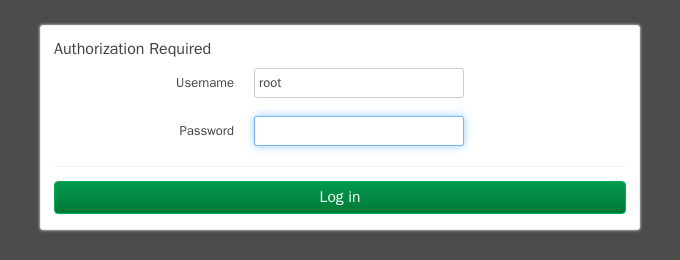
- Connect a computer to a LAN port and open http://192.168.1.1
- The user is root. A fresh OpenWrt has no password: set one right away under System → Administration
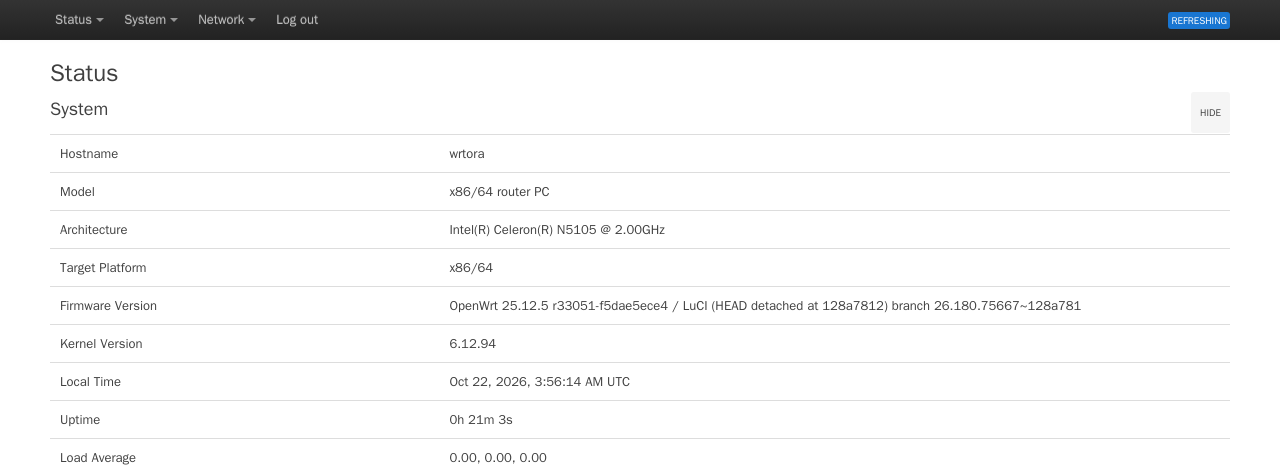
2. Check the status page
Status → Overview shows the model, firmware version, memory, and the state of the internet connection.
3. Connect to the internet
Open Network → Interfaces. The wan interface is the internet side; lan is your home network.
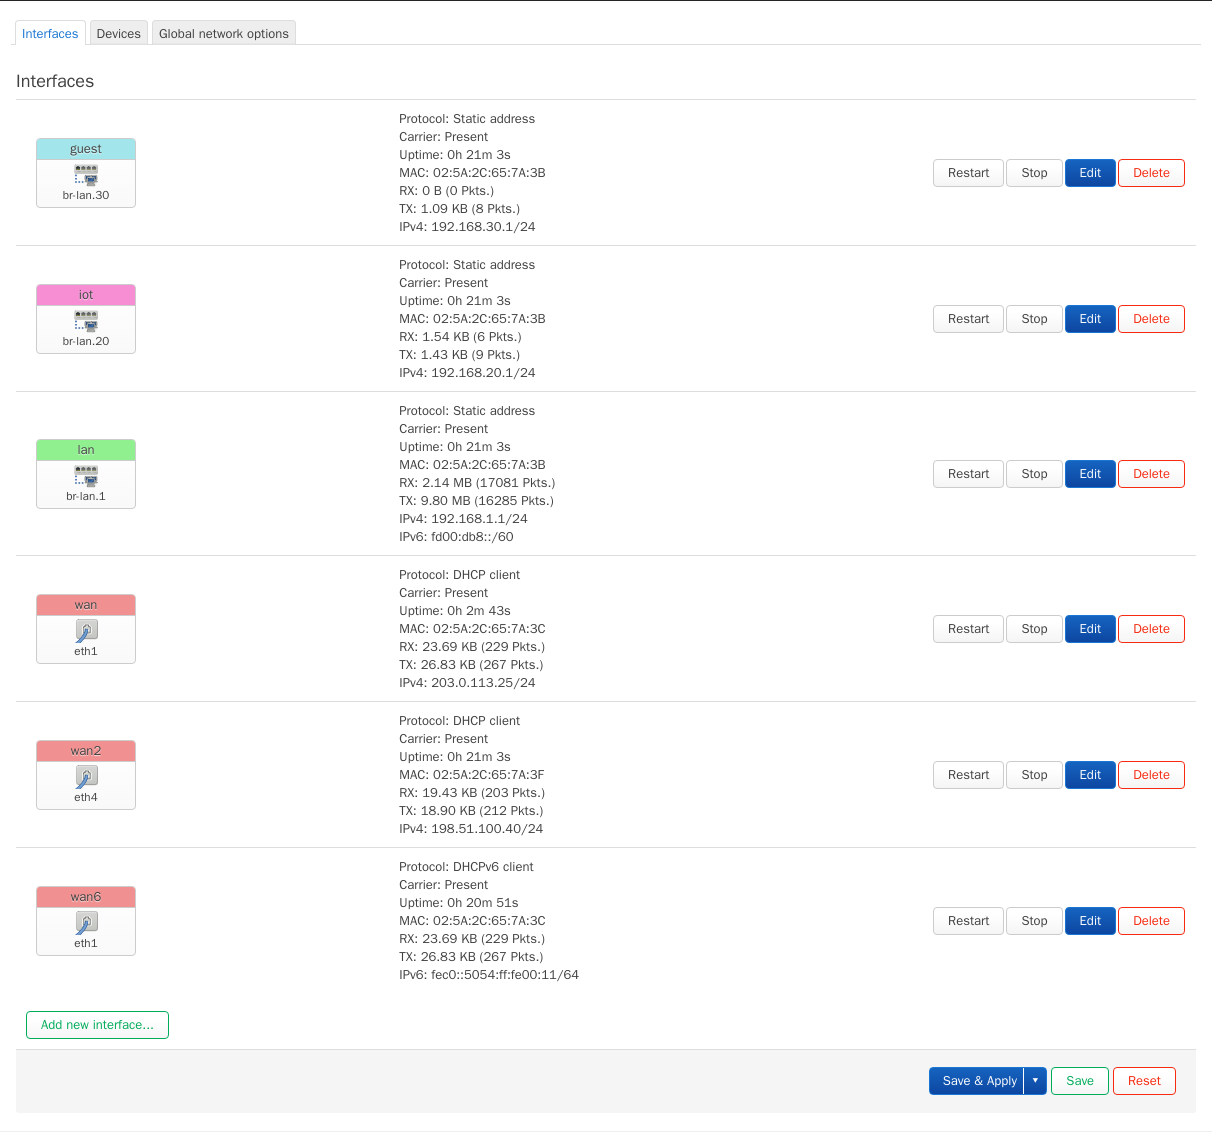
- Fibre ONT or a modem in bridge mode with a login from your ISP: edit wan, choose Protocol PPPoE, click Switch protocol, and enter the username and password from your ISP
- Cable modem, or an ISP box that stays a router: keep DHCP client — nothing to change
- Click Save, then Save & Apply at the bottom of the page
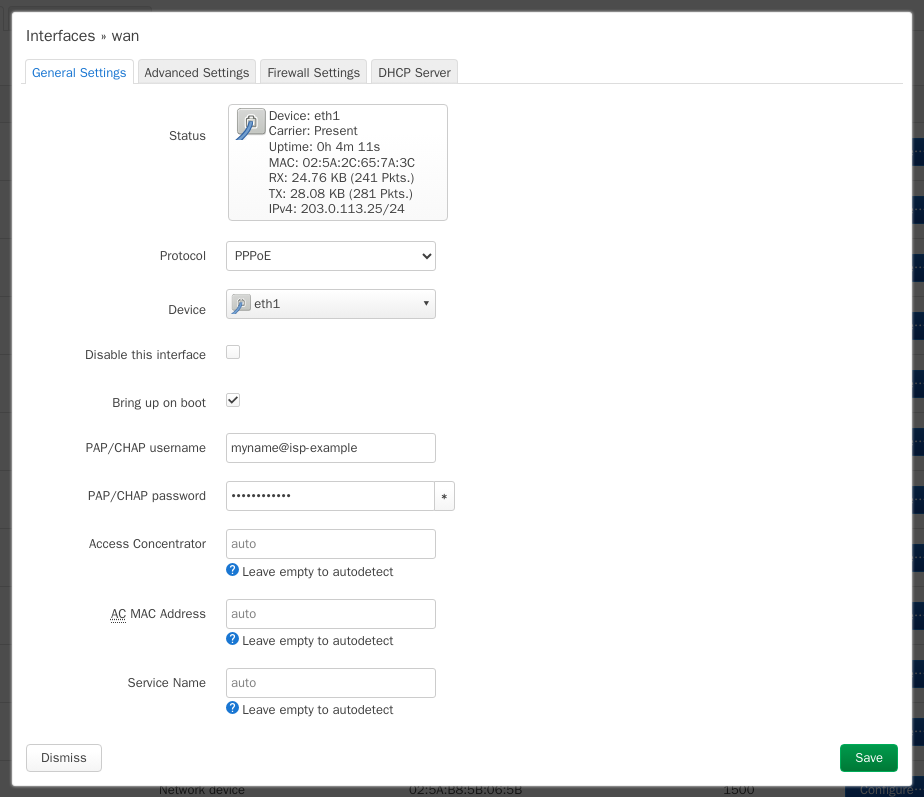
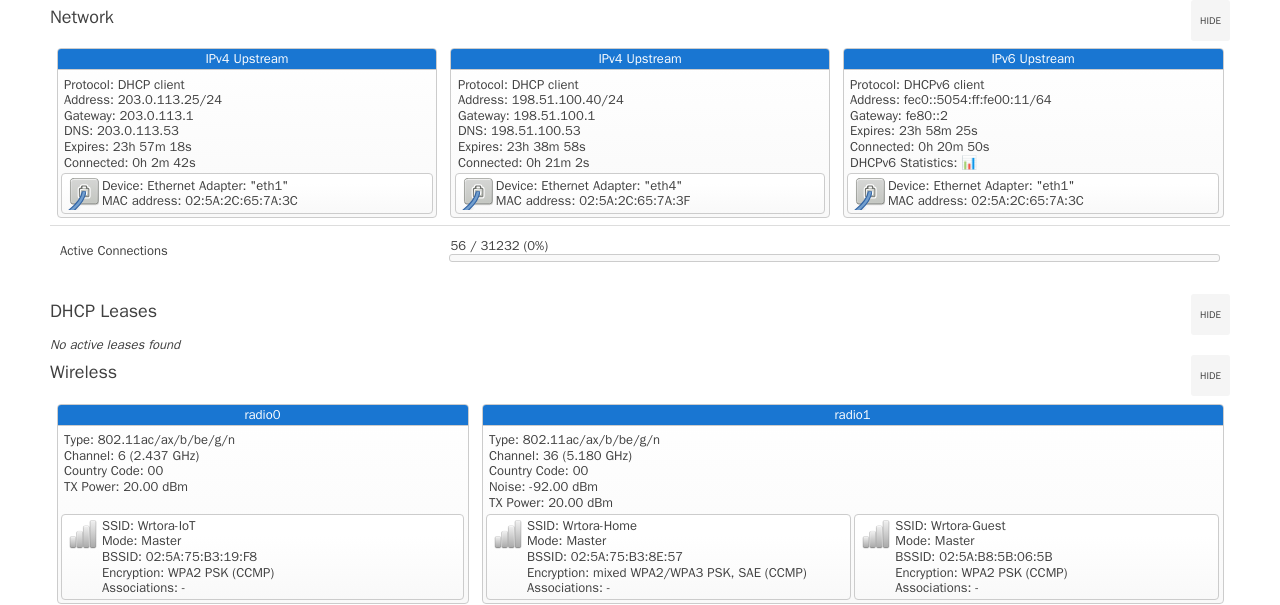
When the connection is up, the overview shows the public address, gateway and DNS servers:
4. LAN address and DHCP
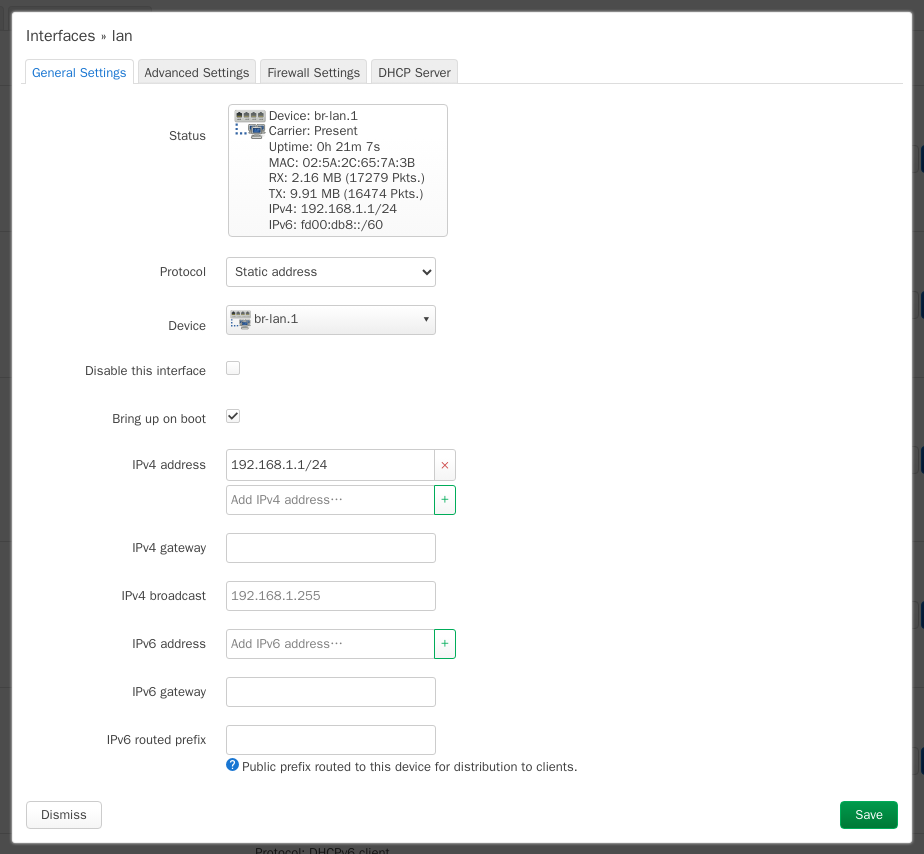
Edit lan to change the router's own address (192.168.1.1 by default). Pick another subnet such as 192.168.10.1/24 if your ISP box already uses 192.168.1.x.
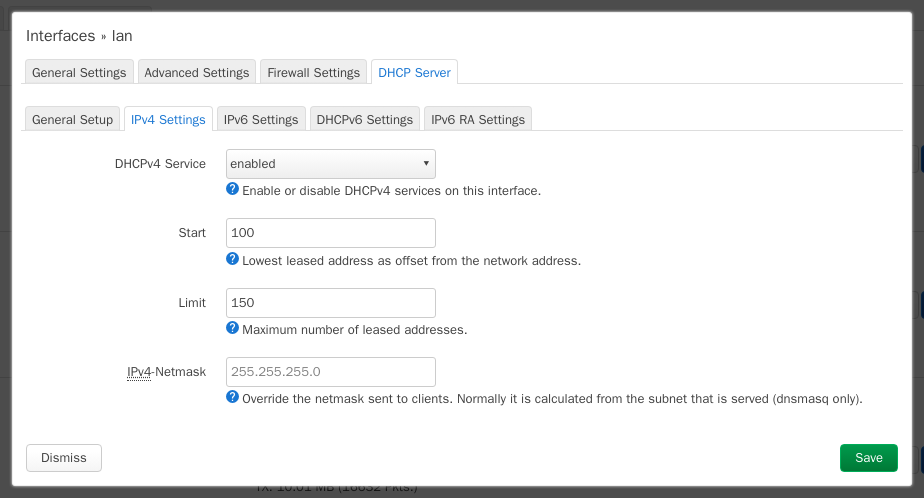
On the DHCP Server tab, Start and Limit set the address pool handed out to devices: start 100 and limit 150 means 192.168.1.100 to .249.
5. Fixed addresses for servers and printers
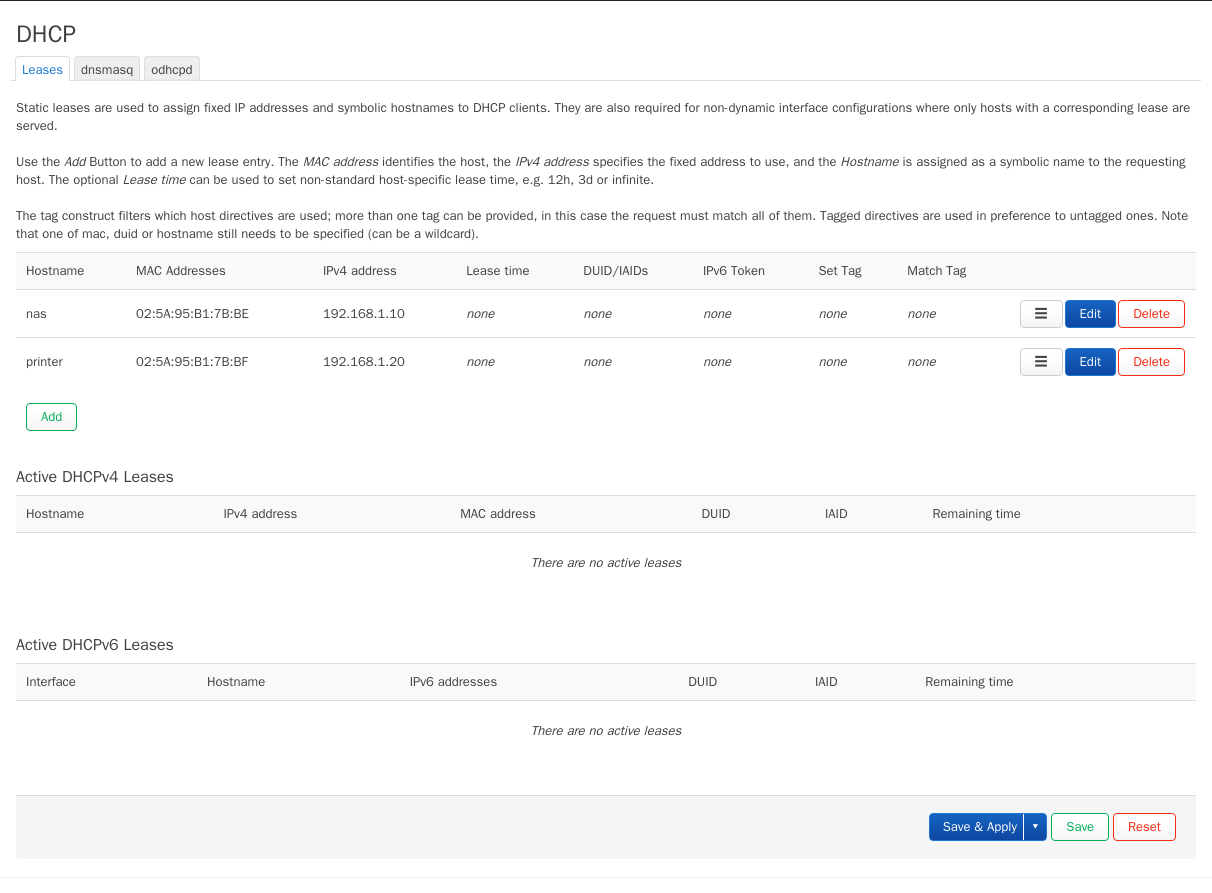
Network → DHCP → Leases lists static leases: a device with this MAC address always gets the same IP. Use addresses outside the DHCP pool, such as .10 to .99.
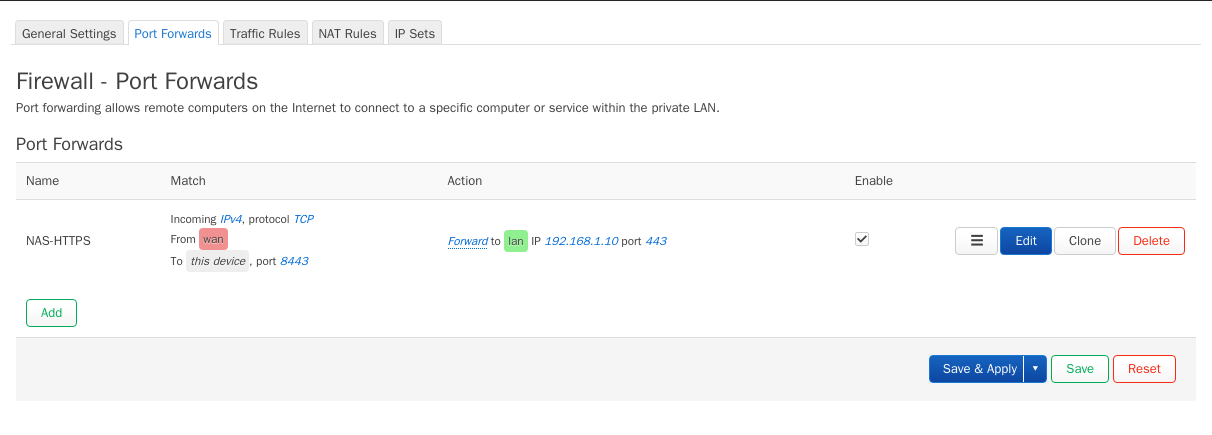
6. Forward a port (optional)
To reach a device from the internet, add a port forward under Network → Firewall → Port Forwards. This example sends port 8443 on the WAN to HTTPS on the NAS. Only forward what you really need — for remote access a VPN is safer.